 Travis Horn
Adding Bootstrap to a Vue CLI Project

The Vue CLI is an awesome tool to kick-start your Vue projects. But by default — and rightly so — it comes with very little in the way of styling. Follow along and I’ll show you how to add Bootstrap so you can take advantage of all of it’s front-end features.
The very short version
I recommend reading through the whole post below at least once. But if you’re just here to get this set up as fast as possible, the short version is this:
npm i bootstrap jquery popper.js- Add to
src/main.js:import 'bootstrap'; import 'bootstrap/dist/css/bootstrap.min.css';
Getting set up
In order to show every step from start to finish, I’m going to create a new project from scratch. If you already have a project (that you set up with Vue CLI 3), you can skip this section.
If you don’t already have Vue CLI version 3, install it.
Now create the app.
vue create withbootstrap

? Please pick a preset: (Use arrow keys)
> default (babel, eslint)
I named my app “withbootstrap”, but you can name yours whatever you like. Also notice I used the default present, which uses Babel and ESLint.
Once the app is created, move into the directory and serve the app.
cd withbootstrap
npm run serve
Your new Vue app is available at http://localhost:8080/
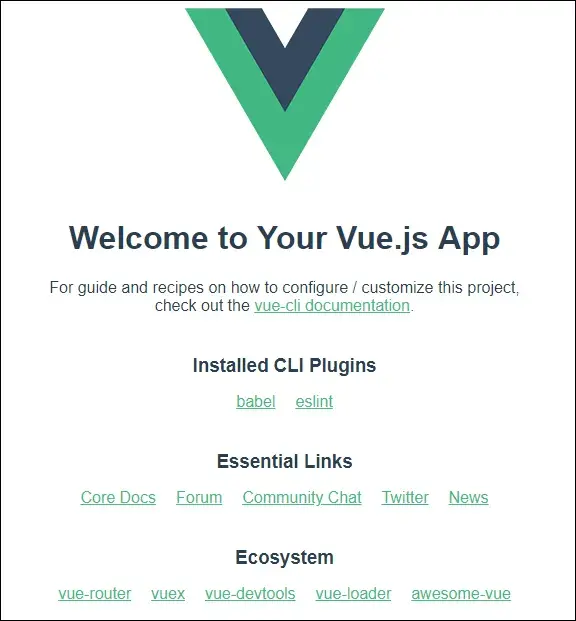
Even though we haven’t installed it yet, I’m going to add a Bootstrap component to the app, just so we’ll be able to see it as soon as we get everything working.
Open withbootstrap/src/components/HelloWorld.vue and add the follow HTML below
the existing <h1>.
<div class="alert alert-success alert-dismissible fade show" role="alert">
With Bootstrap!
<button type="button" class="close" data-dismiss="alert" aria-label="Close">
<span aria-hidden="true">×</span>
</button>
</div>The updated page looks like this:
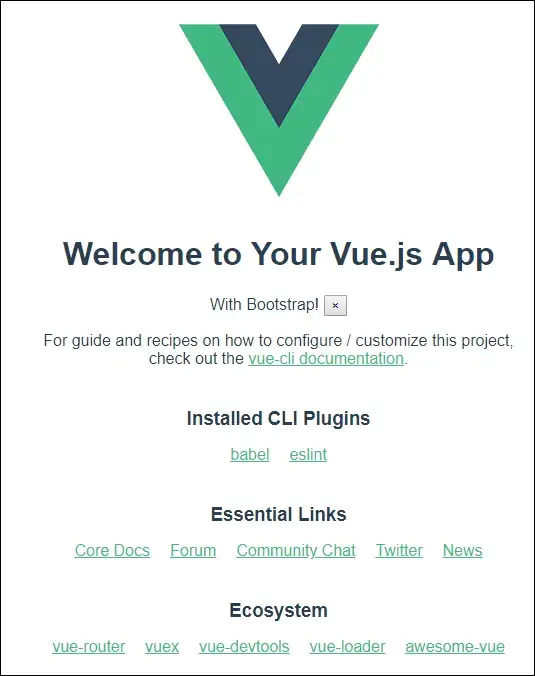
The end result we’re looking for is a styled <div> that looks like a
“success” alert, and allows you to close it with the × button. So far, the text
and the button are there, but the style and functionality will come from
Bootstrap as soon as we add it.
Adding Bootstrap styles and JavaScript
Still inside the withbootstrap directory, install Bootstrap and its
dependencies.
npm install bootstrap jquery popper.jsNote: If you’re not going to use Bootstrap’s JavaScript, and only going to use its styles, don’t worry about installing jQuery or Popper.js.
Finally, import it into the main script by adding these lines to the top of
withbootstrap/src/main.js:
import "bootstrap";
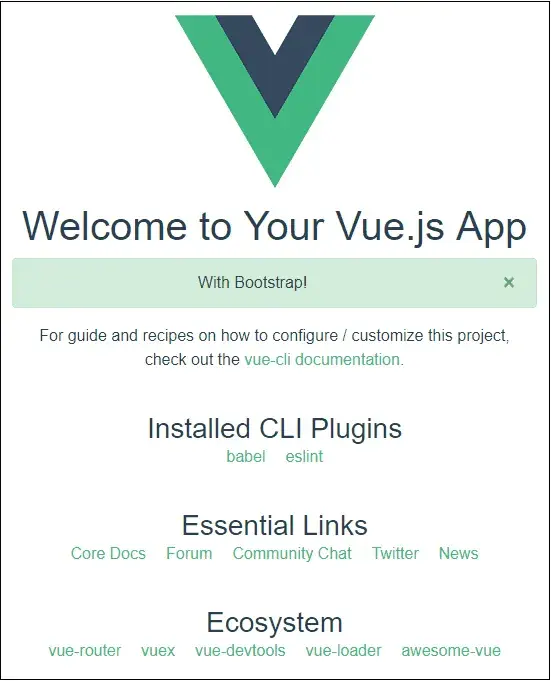
import "bootstrap/dist/css/bootstrap.min.css";Again, if you only want the styles, and not the JavaScript functionality, just leave off the first line and only include the CSS.
That takes care of both the JavaScript and the styles. The alert we wrote earlier now has the look and functionality we were looking for!
If you need to customize Bootstrap, which I highly recommend so your site doesn’t look like every other bare-bones Bootstrap site, you can read my post for Customizing Bootstrap Styles, Step-by-Step.