


This is the second article in a series where we’ll be learning to use the powerful logic of a programming language like JavaScript to manipulate spreadsheet data.
In this article, we’ll talk about how to install the tools and set up your workspace
JavaScript is a programming language that can be used in many different environments. Common environments include the web browser (such as Google Chrome) and on servers using Node.js.
Node.js is a JavaScript runtime that can run on servers or even just on your local machine. It is a powerful engine that enables programmers to use JavaScript to do low-level tasks such as manipulating file input/output. With Node.js, you can read and write files on your local computer.
There are many ways to install and manage Node.js versions, but the easiest way to get up and running fast is to go to https://nodejs.org/ and click the green box for the latest LTS (long-term support) release. This box will be labeled “Recommended For Most Users.
Here’s what the homepage looks like when accessing it using Windows.

Clicking the green box will download an installer package. When the installer finishes downloading, open it up and begin the installation. Continue through the whole installation using the default settings.
Once installed, you can test that Node.js is installed correctly by opening up a Command Prompt. On Windows, click the Start button, type cmd, and press Enter.
In the Command Prompt, type node -v and press Enter. This command tells Node.js to start, but simply display the installed version, and exit.
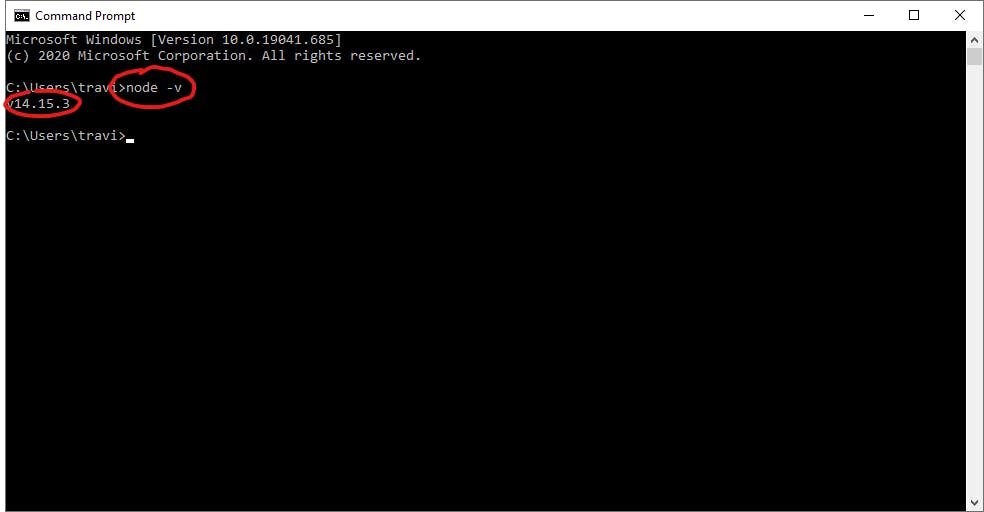
As long as a version number appears, Node.js is installed and working correctly.
Next, I suggest using a code editor. Code editors are programs allow you to write code and provide excellent built-in tools for things like code completion, syntax highlighting, debugging, etc. One very popular option (and my favorite) is Visual Studio Code.
To install Visual Studio Code, go to https://code.visualstudio.com/ and click the blue button for the latest stable build. On Windows, it will look like this:
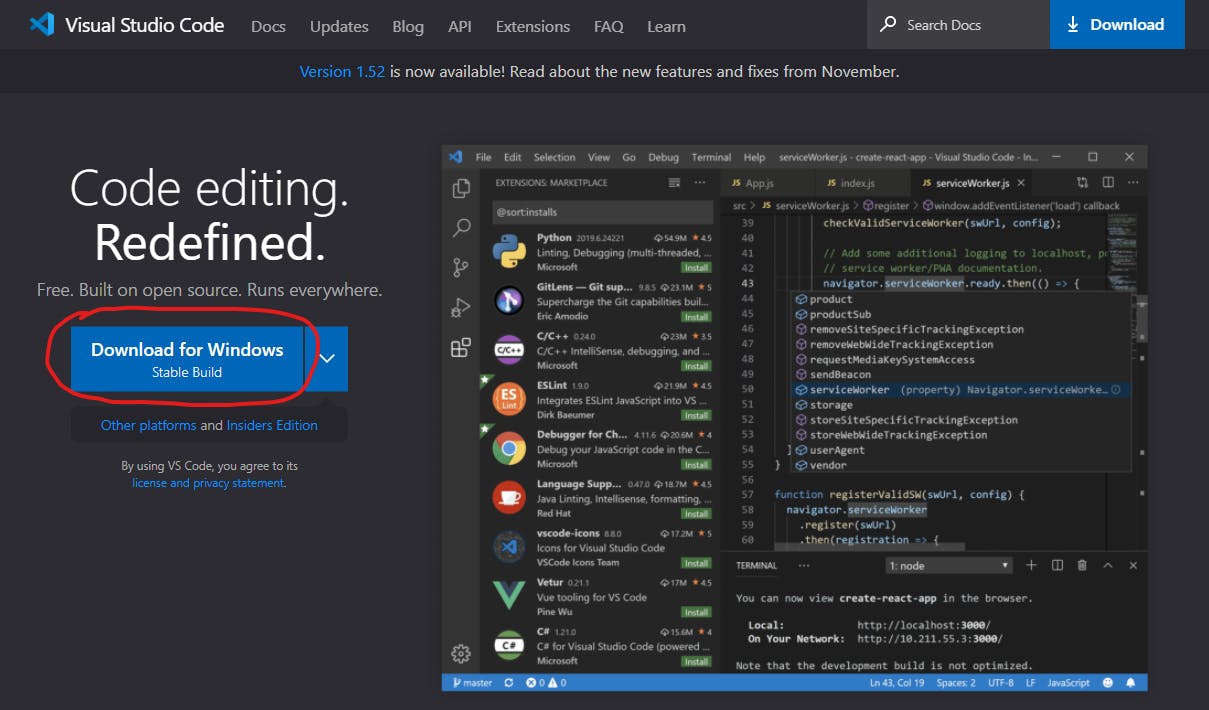
When the download completes, open the installer and go through the installation process using the default options.
When the installation completes, go ahead and open up Visual Studio Code.
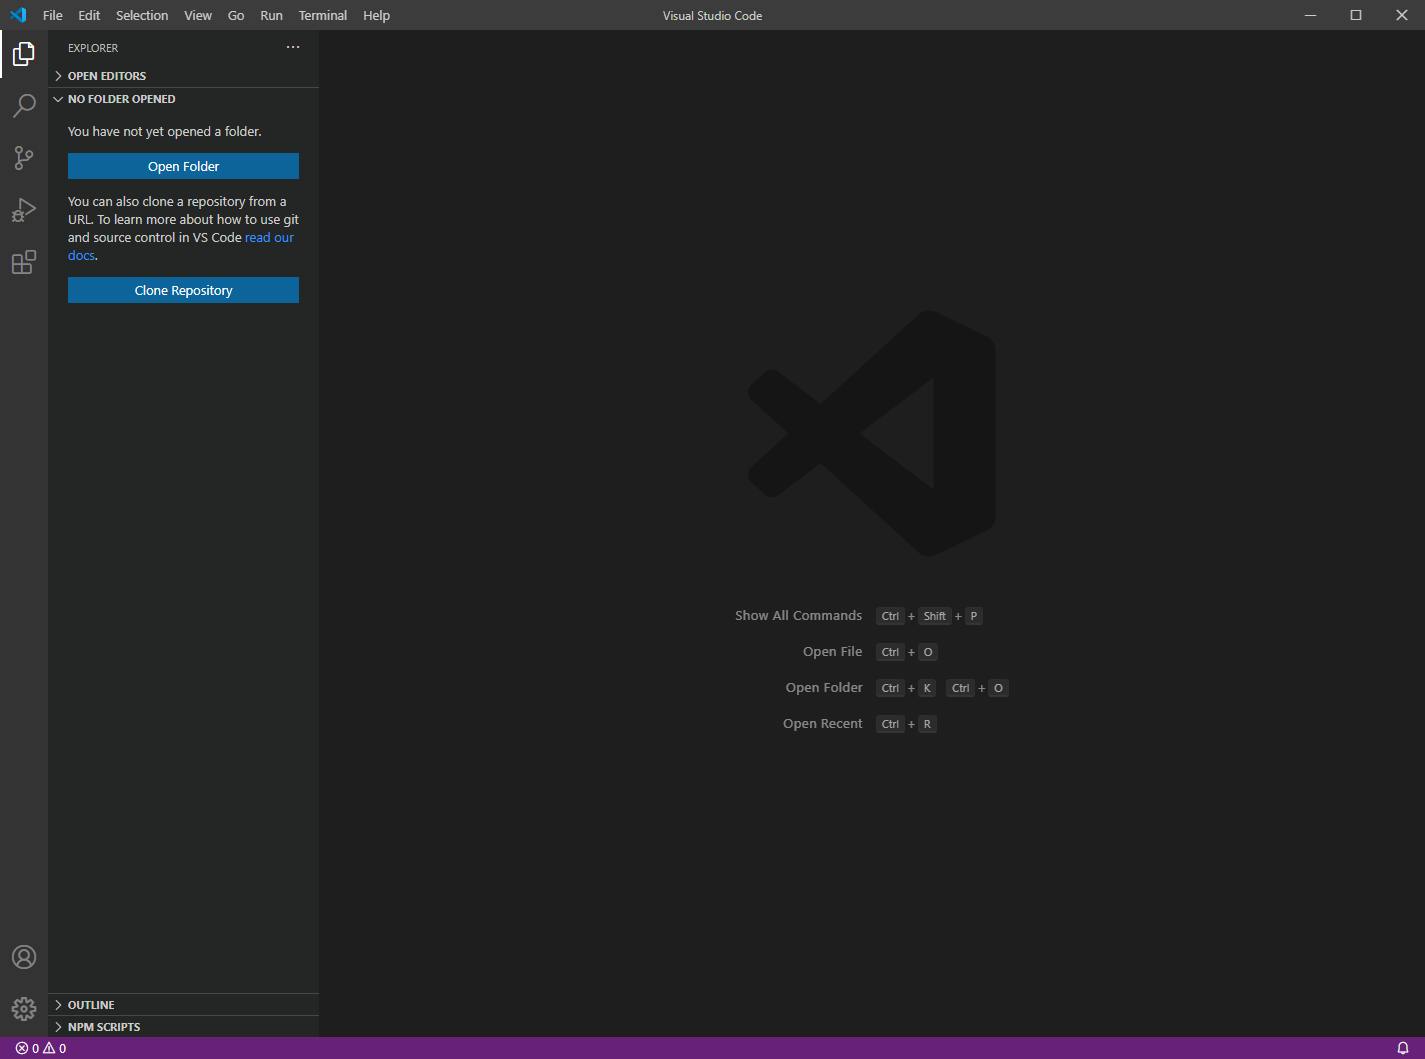
If you foresee yourself doing any amount of programming beyond a basic project or two, I recommend setting up a “Development” folder on your hard drive somewhere to house all your projects. For me, I created a folder called D:\Development\. Inside this folder, I create a new folder for each programming project I start. In this case, I’m going to create a folder called spreadsheets. So the whole path is D:\Development\spreadsheets.
Inside VS Code, click the Open Folder button or press the keyboard shortcut Ctrl+K Ctrl+O. Navigate and select the folder you created to contain this project.
In my case, I’ll go ahead and put my spreadsheet file somewhere inside this folder but the data can really be accessed from anywhere on your hard drive. I’m going to create a subfolder called Data Files and save the Excel file in there as Company Database.xlsx.
The last thing we’ll do in this step is to initialize an “npm package.” npm is the name of Node.js built-in package manager. When you installed Node.js, you installed npm along with it.
Each programming project you create can by bundled as an npm package. This is simply a way to keep track of the name, version, description, and other information about your project. Initializing an npm package also helps you keep track of your projects dependencies.
Dependencies are npm packages that others have created and shared with the community. For example, there are npm packages that you can install which help you create colored text in the command line, make HTTP requests, parse and manipulate dates, etc. The npm package repository is the largest programming package repository in the world, containing hundreds of thousands of packages.
To initialize an npm package in your project’s folder, go back into VS Code and open up the terminal by clicking Terminal> New Terminal or pressing the keyboard shortcut `Ctrl + Shift + ``. The terminal that opens is very similar to a Command Prompt you may be used to.
In the terminal, type npm init -y. This command starts npm, tells it to initialize a new package in the current folder, and accepts the default options.
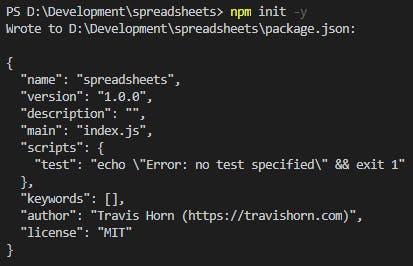
Your output may look slightly different than mine, which is okay.
When the command completes, you’ll see a new file called package.json in your project’s root folder. The structure of my project now looks like this as seen by VS Code:
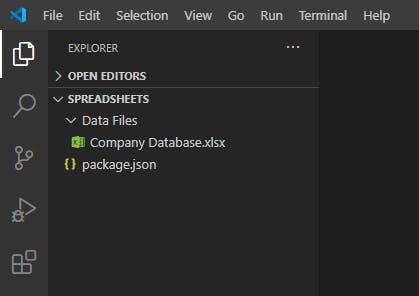
You can see the Excel file inside Data Files folder and you can see package.json in the project root.
Our workspace is set up and we’re ready to start actually coding.
In the next article in this series, we’ll start creating JavaScript files that can read our Excel spreadsheet.