 Travis Horn
Vim on Arch

In the last few articles, we installed Arch Linux, xmonad window manager, Alacritty terminal emulator, and xmobar status bar all from scratch.
Throughout the series, we’ve been using Nano to edit the many configuration files necessary to set up and customize the tools we’ve installed. Nano is great for beginners but it leaves a lot to be desired. My favorite text editor on Linux is Vim.
Vim takes a little bit of time to get used to. If you haven’t used it before, you probably haven’t experienced text editing like you will in Vim before. Most people probably get turned off by Vim because, initially, it will take you much longer to do simple tasks like edit a line of configuration in a file. That’s because you’ll spend a significant amount of time figuring out how to do the thing you want to do.
But once you figure it out and start memorizing key combinations and little shortcuts to take care of common tasks, you’ll be able to edit files faster than ever before.
This article isn’t the ultimate guide on using Vim, but it’s a decent start and I think it makes sense to talk about at this stage in the series.
Installation
You can install Vim through pacman just like all the other packages we’ve installed so far.
sudo pacman -S vimBasic usage
Once it’s installed, launch it by typing vim or, even better, give Vim a
filename to open on launch. For example, to edit the xmonad configuration we’ve
been editing in the last few articles, run the follow command
vim ~/.xmonad/xmonad.hs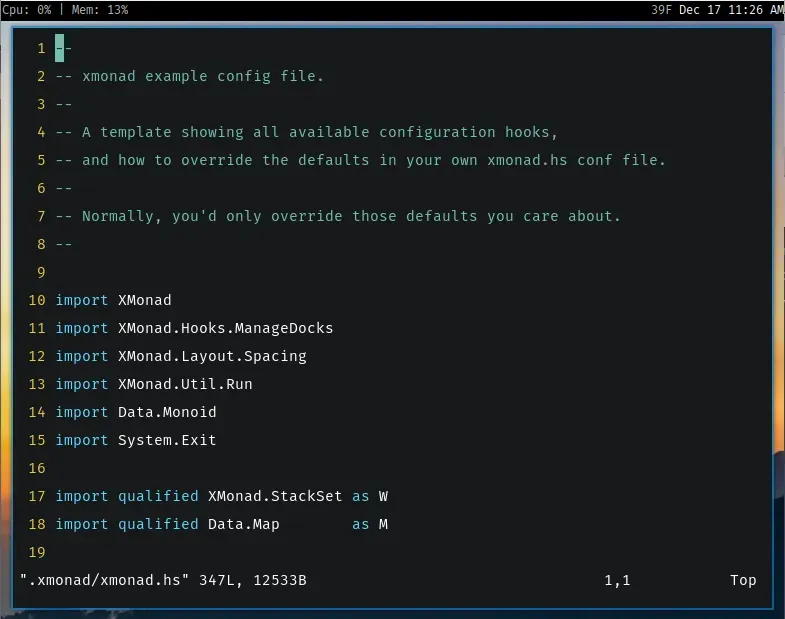
Upon launch, you can’t just start typing like you could in Nano. Instead, you
have to put Vim into insert mode. Do this by pressing i.
From here you can now use it like you might normally use Nano.
When you want to quit, press Esc to put Vim back into normal mode. Then
type :q and press Enter. q stands for quit.
If you’ve made changes to the file, Vim won’t let you quit right away.
If you want to save those changes and quit, type :wq instead. The w stands
for write.
If you want to discard the changes, you can force Vim to quit without saving by
typing :q!
Remember, all of these commands must be entered in normal mode. If you’re
ever not sure if you’re in normal mode or not, just press Esc.
One of the beautiful things about Vim is that many of the common things you might want to do in a text editor can be done without moving you fingers far from home row on your keyboard.
In normal mode, press h, j, k, or l to move one character left,
down, up, or right. It might seem strange now, but use these keys
long enough and they become second nature.
Soon enough you’ll be zooming around text files with those keys and adding, replacing, and deleting text quicker than ever.
There are much faster ways to get around a file, too. For example, w moves one
whole word forward. If you need to insert something 5 words from where you
cursor is, it’s much easier to tap w 5 times than it is to tap l or Right Arrow a couple dozen times. Pro tip: it’s even quicker to type 5w to
automatically jump 5 words ahead!
I recommend learning more of the basics from freeCodeCamp in their article Vim Editor Modes Explained. Of course, there are countless Vim tutorials online, so I won’t spend more time on that subject here.
Configuration
One nice part of Vim is that, by default, it uses some of the font and color settings from your terminal. Since we already customized Alacritty, some of those settings are inherited by Vim.
But Vim itself is incredibly customizable.
Create a new Vim configuration file
vim ~/.vimrcYou can start with some basic standard configuration settings. I’ll share some
of mine. Remember, you don’t have to use what I use. For example, if you use
tabs instead of spaces, don’t put set expandtab in your configuration!
set nocompatible          " Disable vi compatibility to reduce unexpected behavior
set number                " Show line numbers
set shiftwidth=2          " How many spaces to indent code blocks
set tabstop=2             " How many spaces to enter for each tab
set expandtab             " Convert tabs to spaces
set incsearch             " Search as you type
set hlsearch              " Highlight matches while searching
set background=dark       " Turn dark mode on

filetype on               " Enable filetype detection
filetype plugin on        " Enable filetype-specific plugins
filetype indent on        " Adjust indentation rules based on filetype

syntax on                 " Turn syntax highlighting on
Save and quit Vim when you’re done by pressing Esc to get into normal
mode, then type :wq and press Enter.
How about a nice new colorscheme just for Vim? I like PaperColor by NLKNguyen
Make a new directory for colorschemes
mkdir -p ~/.vim/colorsDownload PaperColor into it
curl -o ~/.vim/colors/PaperColor.vim https://raw.githubusercontent.com/NLKNguyen/papercolor-theme/master/colors/PaperColor.vimTell Vim to use it by editing ~/.vimrc again and adding
colorscheme PaperColorNext time you start Vim, you’ll see the new colorscheme.
Plugins
Vim has a huge ecosystem of plugins. In fact, the plugin community is so big that there are multiple plugin managers.
Personally, I don’t run any plugins at the moment because I find I can still get work done in a minimal environment and I don’t want to get too bogged down in chasing the next cool toy for my development environment. But I’m obviously in the minority on that topic.
vim-plug is a great, popular plugin manager. You can find easy installation and usage instructions on the vim-plug GitHub homepage.
What can plugins do? Take a look at VimAwesome. See if any of them might be useful for you.
Conclusion
If you made it all the way through this series, you have a decent, minimal workstation ready to go. From here, you can install the tools to make you machine work exactly how you like it.
I do a lot of web development. So for me, I’m going to install some extra tools I’ll need:
- Node.js and npm (nvm works great here)
- A web browser like Firefox of LibreWolf
- git for version control
Over time, I’m sure my setup will change. But I think what we’ve installed over the course of this series is a great base.