 Travis Horn
Uploading and Saving Files with SvelteKit

Recently, while working on a project, I needed to add a feature to allow users to upload a file and save it on the server. I did quite a bit of searching for a working solution. However, many of the answers I found were outdated, used features I didn’t have available, or just flat-out didn’t work. I eventually figured out a solution that worked for me which I’ll document below.
Setup
You can skip this section if you already have an existing SvelteKit project. I’m including this section so people can get a fully reproducible project from start to finish.
First, make sure you have Node.js installed. I’m using Node.js 18.16.0 and npm 9.5.1.
Then, open up a terminal. I’m on Windows 11, so I just press the Windows key, type terminal, and press Enter.
Navigate to wherever you want to place your project.
cd ~/DevelopmentCreate a new SvelteKit project.
npm create svelte@latest skuploadI named the project skupload, but feel free to choose any name to your liking.
Answer the questions given to create the project. Here’s what I chose:
- Which Svelte app template? Skeleton project
- Add type checking with TypeScript? Yes, using JavaScript with JSDoc comments
- Select additional options (none)
Change into the directory.
cd skuploadInstall dependencies.
npm installOptionally, initialize version control with git.
git init && git add -A && git commit -m "Initial commit"Run the development server.
npm run dev -- --openThe code
Before we write the first line of code, we’ll need a directory to store the
uploads. Create a directory called uploads in the root of your project.
Now, edit src/routes/+page.svelte. Replace the default sample code with the
following:
<form method="post" enctype="multipart/form-data">
  <input type="file" name="file" />
  <button>Upload</button>
</form>
This is a basic form in HTML, but it’s all we need. Note:
- The form
methodmust bepost - The form must have an
enctypeofmultipart/form-data - The
inputof typefilewill render a “file chooser” form control. Here, the input’s name is file, but feel free to choose any name of your liking. Just keep in mind that we will be referencing it later. - There is a
buttonat the end of the form that submits the form.
Now, create a new file called src/routes/+page.server.js with the following
contents:
import { writeFile } from "node:fs/promises";
import { extname } from "path";

/** @type {import('./$types').Actions} */
export const actions = {
  default: async ({ request }) => {
    const formData = await request.formData();
    const uploadedFile = formData?.get("file");
    const filename = `uploads/${crypto.randomUUID()}${extname(uploadedFile?.name)}`;
    await writeFile(filename, Buffer.from(await uploadedFile?.arrayBuffer()));

    return { success: true };
  },
};
At the top of the file, we import writeFile and extname from some built-in
Node.js modules. We use these functions further down in the code.
Then, we use a JSDoc comment to hint that the actions object is a SvelteKit
Actions type.
Inside the actions object, we provide a single property called default,
which contains an async function that will run when the form is submitted.
Inside the default function, we set the formData constant to the form data
that the user submitted.
The uploadedFile constant is set to the file that was submitted in the form
data. The string 'file' here refers to the name of the input on the form.
The filename could be anything you want. I prefer to use a random UUID so that
no files get overwritten. Notice we’re using extname to keep the file
extension of the uploaded file. Also, notice all uploaded files will be placed
in the uploads directory we created earlier.
Next, we write the file to disk using writeFile. Using Buffer.from and
arrayBuffer() in this way is the secret to this solution.
Finally, we return { success: true }. You don’t have to return this exact
thing, so feel free to change it depending on your needs.
Trying it out
Make sure the development server is running, then (if it isn’t already open) navigate to http://localhost:5173/
You should see the simple form we wrote earlier. On Chrome, it looks like this:
![]()
Click on Choose File. A file chooser will appear. Choose any file you want to upload.
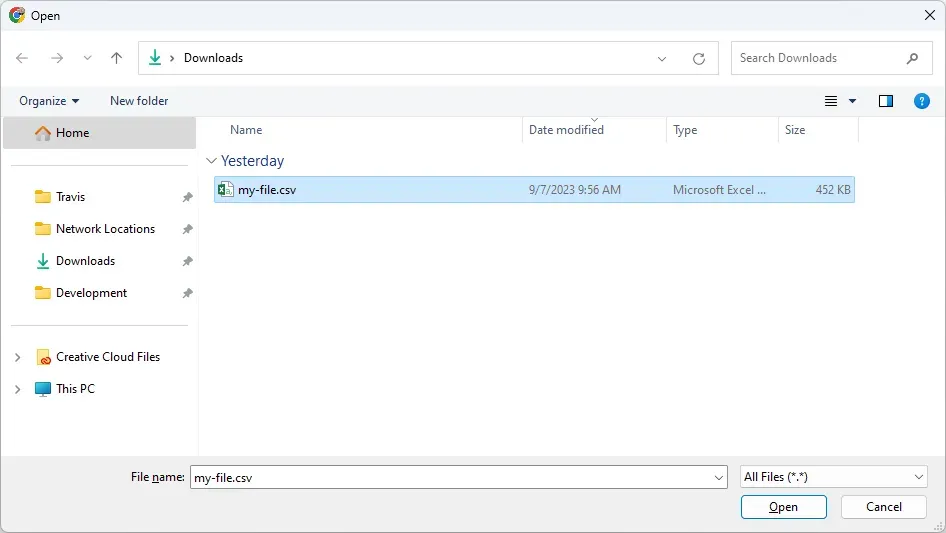
Once you’re back on the form, click Upload.
It may not look like anything happened, because the page simply reloads after a successful upload. Later, you’ll probably want to do some redirection to a “success” page or similar.
If you check the uploads directory inside your project, though, you should see
a new file. This is the file that was uploaded.
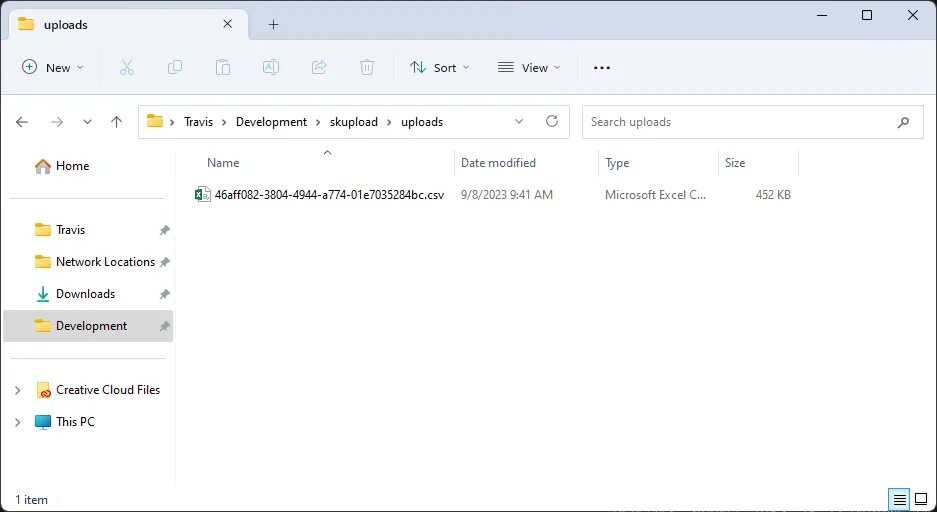
That’s it! We successfully created a form in SvelteKit that handles file uploads and writes them to disk.
Further improvements
The style of the form could be significantly improved. You’ll probably want to style it to match the rest of your app.
Some sort of confirmation that the file upload was successful is necessary. I recommend redirecting to a page with a success message.
Writing the file to disk is great, but you’ll probably want to reference it later somewhere in your app. For that, I recommend saving the filename to a database alongside some relevant information; perhaps the original filename, the user account who uploaded it, the date and time, etc.
All of the code in this article is available in a working example on GitHub: travishorn/skupload.